posted Wednesday, 06 June 2012, 19:20 (+0800), by Martin
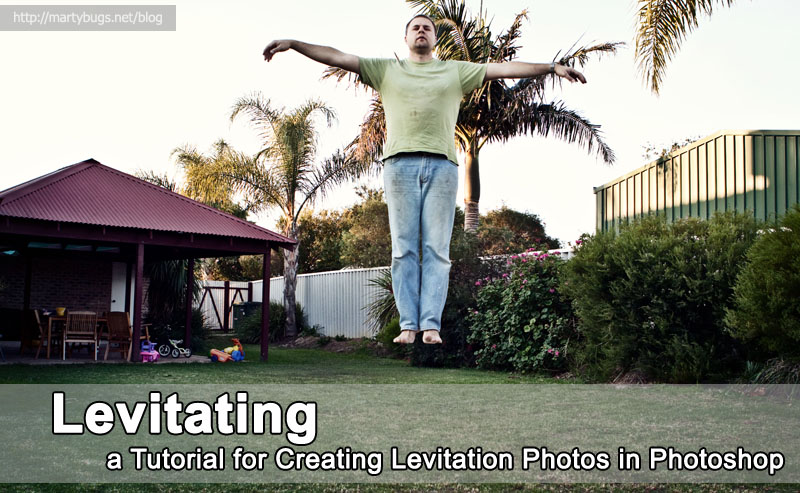
Some time ago I posted some photos showing myself and kids levitating in the back yard.
Due to the interest generated by those photos, I decided to create this tutorial to describe how you can achieve similar results using Photoshop.
Note that this tutorial assumes the use of Photoshop CS4. Some steps may be slightly different in other versions of Photoshop.
Similar results can also be achieved using most other image editing packages.
Taking the Photos
You'll need two photos of the same scene - one with a person standing/lying on a chair, ladder, or other support, and one without the person and support.
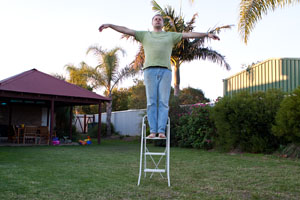
subject supported in the air
|
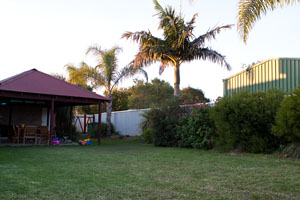
clean background
|
Some tips for ensuring a good result:
- use a tripod to ensure both photos align exactly
- use manual mode
- set your lens to manual focus
- manually focus on the location of the person/ladder before taking the photos
- use a remote shutter release
Post-Processing
- Open Starting Images
Open both photos in Photoshop. - Copy Foreground Image to Clipboard
Go to image containing the person and the ladder.
Hit Ctrl-A to select the entire canvas, and then hit Ctrl-C to copy it to clipboard.
Close that image, as it is no longer required. - Paste the Clipboard over the Background Image
Now go to the background image, and hit Ctrl-V to paste the contents of the clipboard into that image.
This should result in a new layer containing the foreground image. - Create a Layer Mask
Create a layer mask in the newly created layer by hitting the "add layer mask" button at the bottom of the "layers" tool window, or by selecting the Layer -> Layer Mask -> Reveal All menu item. - Select Default Colours
Select the default foreground (white) and default background (black) colours by hitting hit the "D" key.
Note that hitting the "X" key will toggle the white/black foreground and background colours - Mask Out The Support
Ensure the top layer (containing the foreground image) is selected, click the mask, and use a paintbrush tool (hit "B" to select it) to paint over the support with black.
Adjust the size and hardness of the paintbrush as required.
Note that you can paint with white to undo any areas where you may have painted too vigorously with black. - Flatten Image
Once your masking is complete, flatten the image by hitting Shift-Ctrl-E or selecting the Layer -> Flatten Image menu item. - Complete Post-processing
If desired, you can now crop the image, and apply any other post-processing.
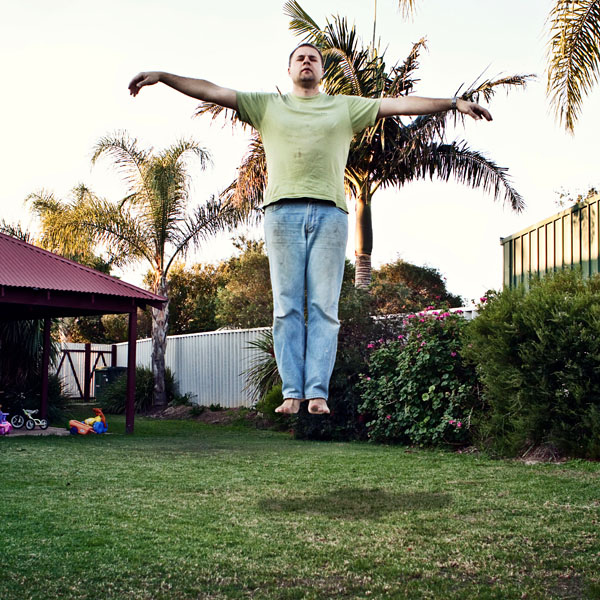
levitating - the completed result
More Examples
Here are a few more examples of levitating photos - showing my oldest daughter using various props.
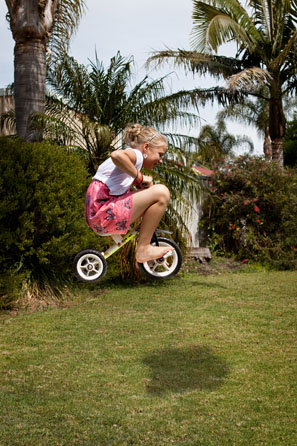
levitating on a trike
|
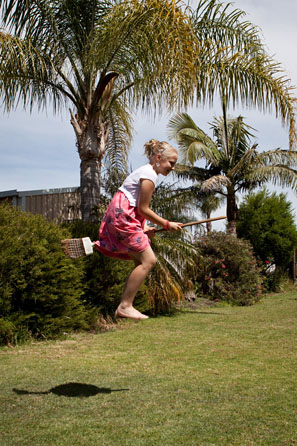
levitating on a broom
|


